“`html
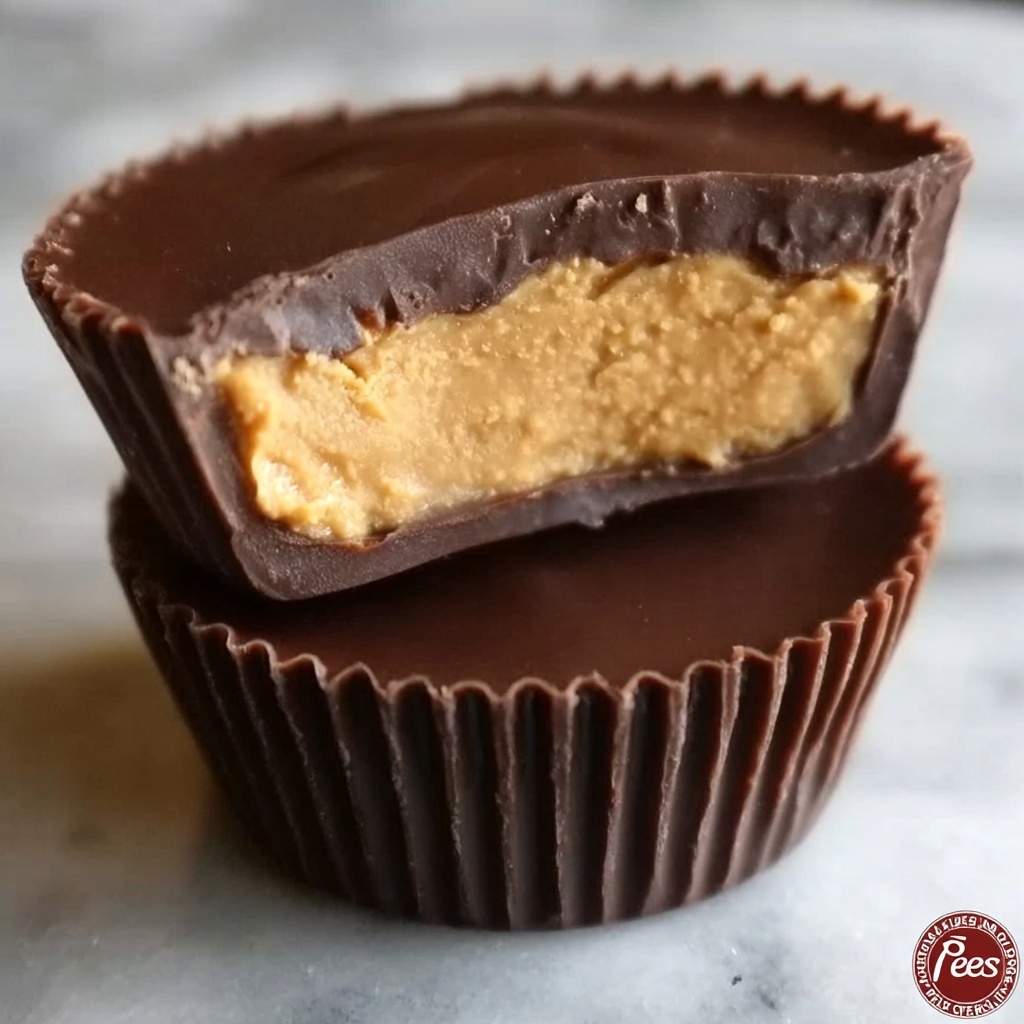
If you have a soft spot for Reese’s Cups but want something that feels a little more special, homemade, and downright irresistible, you’re in for a treat. The 3-Ingredient Homemade Reese’s Cups: Better Than Store-Bought Recipe takes just minutes to whip up and delivers that perfect balance of creamy peanut butter and luscious chocolate that melts in your mouth. This recipe transforms simple pantry staples into bite-sized moments of pure joy that you’ll be eager to share with friends, family, or simply savor all for yourself.
Ingredients You’ll Need
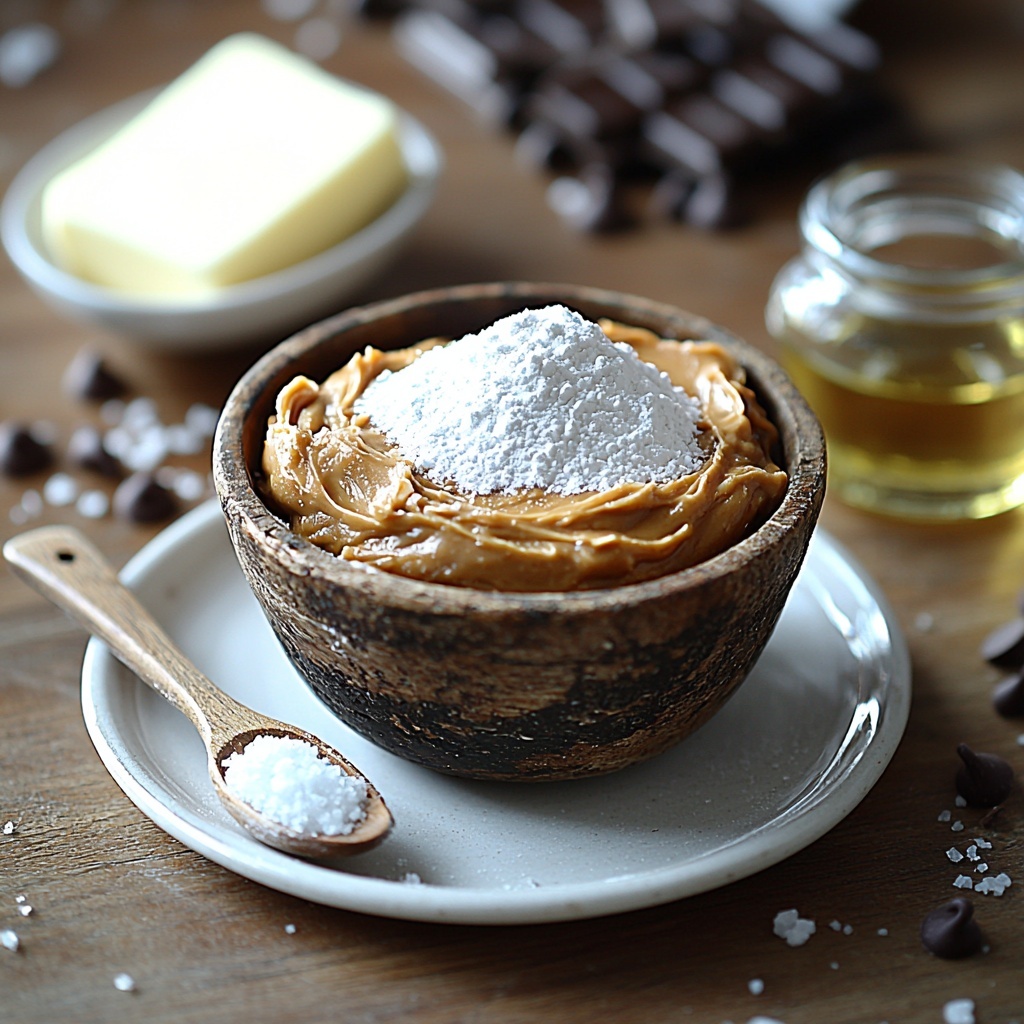
Believe it or not, achieving that perfect homemade peanut butter cup only requires a handful of ingredients, each playing a unique role in creating the ideal texture and flavor. Simple yet essential, these ingredients bring together smoothness, sweetness, and richness in a way that feels indulgent but is so easy to prepare.
- 1 cup creamy peanut butter: The star of the show, creamy peanut butter offers smooth, nutty goodness that forms the delightful center.
- 1/2 cup powdered sugar: Adds just the right touch of sweetness and helps give the filling a silky, firm texture.
- 2 tbsp unsalted butter: Softens the filling to ensure it’s perfectly spreadable and rich without overpowering the peanut flavor.
- 1/4 tsp salt: Elevates and balances the sweetness, enhancing all the flavors harmoniously.
- 1 1/2 cups milk chocolate chips: The smooth, creamy chocolate coating that encases the peanut butter, giving each bite that coveted chocolatey crunch.
- 1 tsp coconut oil: Helps melt the chocolate into a beautifully glossy, smooth coating that sets just right.
How to Make 3-Ingredient Homemade Reese’s Cups: Better Than Store-Bought Recipe
Step 1: Prepare Your Mini Muffin Tin
Start by lining a mini muffin tin with paper liners. This little prep step is key because it keeps your homemade cups neat and makes them easy to pop out once they’re set. Plus, it helps with portion control, giving you perfectly sized treats.
Step 2: Mix the Peanut Butter Filling
In a mixing bowl, combine the creamy peanut butter, powdered sugar, softened butter, and salt. Mix these ingredients together until the texture is smooth and creamy without any lumps. This filling is the heart of your peanut butter cups, so take your time to get it just right!
Step 3: Shape the Peanut Butter Discs
Roll the peanut butter mixture into small balls, then gently flatten them to form discs that will fit snugly inside the muffin liners. These discs become the luscious centers you’ll soon be surrounding with chocolate, so aim for uniform sizes for consistent bites.
Step 4: Melt the Chocolate and Coconut Oil
Place the milk chocolate chips and coconut oil in a microwave-safe bowl and heat in short bursts, stirring in between, until the mixture is beautifully smooth and glossy. This mixture will create that irresistible chocolate shell that’s so important in a Reese’s Cup.
Step 5: Assemble the Cups
Begin by spooning a little melted chocolate into the bottom of each paper liner, making sure to cover the entire base. Then, gently place a peanut butter disc on top of the chocolate layer. Finally, pour more melted chocolate over the discs until they are completely covered. This assembly gives your cups that classic double-layered look and perfect chocolate-to-peanut butter ratio.
Step 6: Chill Until Set
Pop your mini muffin tin into the fridge and chill for about 30 minutes, giving the chocolate time to harden around the creamy peanut butter center. When they’re firm to the touch, your 3-Ingredient Homemade Reese’s Cups: Better Than Store-Bought Recipe is ready to enjoy!
How to Serve 3-Ingredient Homemade Reese’s Cups: Better Than Store-Bought Recipe
Garnishes
While these cups are amazing on their own, feel free to sprinkle some crushed peanuts or a light pinch of flaky sea salt on top before chilling. It adds a lovely texture contrast and a finishing touch that elevates the experience from great to unforgettable.
Side Dishes
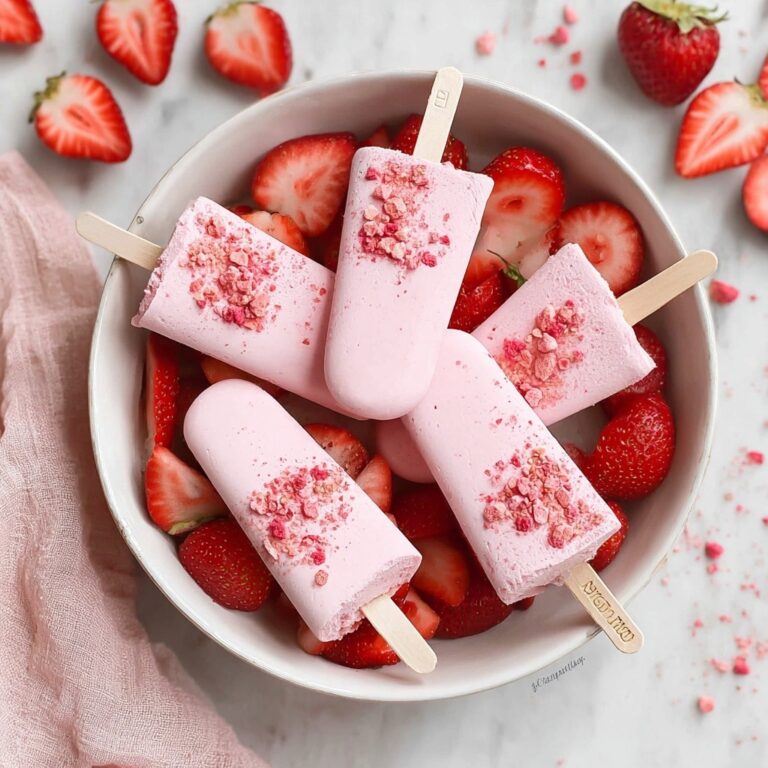
Pair these peanut butter cups with a cold glass of milk or a creamy cup of coffee for a classic combo. If you’re serving at a gathering, plate them alongside fresh berries or a scoop of vanilla ice cream to balance the richness with a fruity or creamy complement.
Creative Ways to Present
Try arranging your 3-Ingredient Homemade Reese’s Cups: Better Than Store-Bought Recipe on a decorative platter with edible flowers or drizzles of white chocolate for a party-worthy presentation. Wrapping them individually in small colorful foil wrappers turns these treats into charming gifts that everyone will love.
Make Ahead and Storage
Storing Leftovers
Once made, these homemade peanut butter cups store beautifully in an airtight container in the refrigerator for 3-4 days. Keeping them chilled ensures the chocolate stays firm and the peanut butter filling maintains its perfect creamy texture.
Freezing
You can freeze them for longer storage by placing the cups in a single layer on a baking sheet first, freezing until solid, then transferring them to a freezer-safe container. They’ll keep well for up to 2 months. When you want a treat, simply thaw them in the fridge for a few hours before serving.
Reheating
These cups are best enjoyed cool, but if you prefer them a little softer, remove them from the fridge and let sit at room temperature for 10 to 15 minutes. Avoid microwaving as it can cause the chocolate to seize or become too soft.
FAQs
Can I use chunky peanut butter instead of creamy?
Absolutely! Chunky peanut butter will add a wonderful texture with little peanut bits, making each bite delightfully crunchy. Just be sure to mix well so the filling holds together.
Is there a substitute for powdered sugar?
Powdered sugar is ideal because it dissolves smoothly, giving the filling a perfect consistency. Granulated sugar would give a gritty texture, so it’s best to stick with powdered sugar or a powdered sugar alternative.
Can I use dark chocolate instead of milk chocolate?
Yes! Dark chocolate is a delicious option that offers a richer, less sweet flavor profile. Adjust the sweetness of the peanut butter filling slightly if you prefer a sweeter contrast.
How long does it take to make the whole recipe?
From start to finish, it takes about 20 minutes of active prep and cook time, plus an additional 30 minutes of chilling. It’s a quick and rewarding project for any day.
Can I make these vegan?
You can make vegan versions by using dairy-free chocolate chips, a vegan butter substitute, and a peanut butter without added dairy. The rest of the recipe stays the same and is just as tasty!
Final Thoughts
There’s something truly magical about making your own treats from scratch, especially when they turn out even better than the classics. I can honestly say this 3-Ingredient Homemade Reese’s Cups: Better Than Store-Bought Recipe is one of those sweet victories. Easy, delicious, and wildly satisfying, it’s a recipe you’ll come back to again and again — because homemade chocolate and peanut butter happiness never goes out of style.
“`
Print
3-Ingredient Homemade Reese’s Cups: Better Than Store-Bought Recipe
- Prep Time: 10 minutes
- Cook Time: 0 minutes
- Total Time: 40 minutes
- Yield: 12 servings
- Category: Dessert
- Method: No-Cook
- Cuisine: American
Description
These 3-Ingredient Homemade Reese’s Cups are a simple and delicious treat that surpass store-bought versions. With a creamy peanut butter filling and a rich milk chocolate coating, this easy no-bake recipe is perfect for satisfying your sweet tooth in under 20 minutes.
Ingredients
Peanut Butter Filling
- 1 cup creamy peanut butter
- 1/2 cup powdered sugar
- 2 tbsp unsalted butter, softened
- 1/4 tsp salt
Chocolate Coating
- 1 1/2 cups milk chocolate chips
- 1 tsp coconut oil
Instructions
- Prepare muffin tin: Line a mini muffin tin with paper liners to prevent sticking and make removal easier.
- Mix filling: In a mixing bowl, combine the creamy peanut butter, powdered sugar, softened unsalted butter, and salt. Stir until the mixture is smooth and well incorporated to create a creamy filling.
- Form peanut butter discs: Roll the peanut butter mixture into small balls, then flatten them slightly so they fit neatly inside the paper liners in the muffin tin.
- Melt chocolate: In a microwave-safe bowl, melt the milk chocolate chips together with the coconut oil, heating in short bursts and stirring regularly until the mixture is fully melted and smooth.
- Layer chocolate bottom: Spoon a small amount of the melted chocolate into each paper liner, spreading it to cover the bottom completely. This forms the chocolate base layer for each cup.
- Add peanut butter filling: Place one flattened peanut butter disc on top of the chocolate layer inside each liner.
- Cover with chocolate: Pour the remaining melted chocolate over each peanut butter disc, ensuring it is completely covered and sealed within the chocolate coating.
- Chill to set: Place the muffin tin in the refrigerator and chill for about 30 minutes or until the chocolate has fully hardened and the cups are set.
Notes
- Use creamy peanut butter for a smooth filling; natural peanut butter may be too oily or grainy.
- Ensure the butter is softened to mix easily with the other filling ingredients.
- Melt chocolate gently to avoid burning; stir often during microwaving.
- Storage: Keep the finished cups refrigerated and consume within one week for best freshness.
- For a dairy-free or vegan option, substitute milk chocolate chips and butter with suitable dairy-free alternatives.


