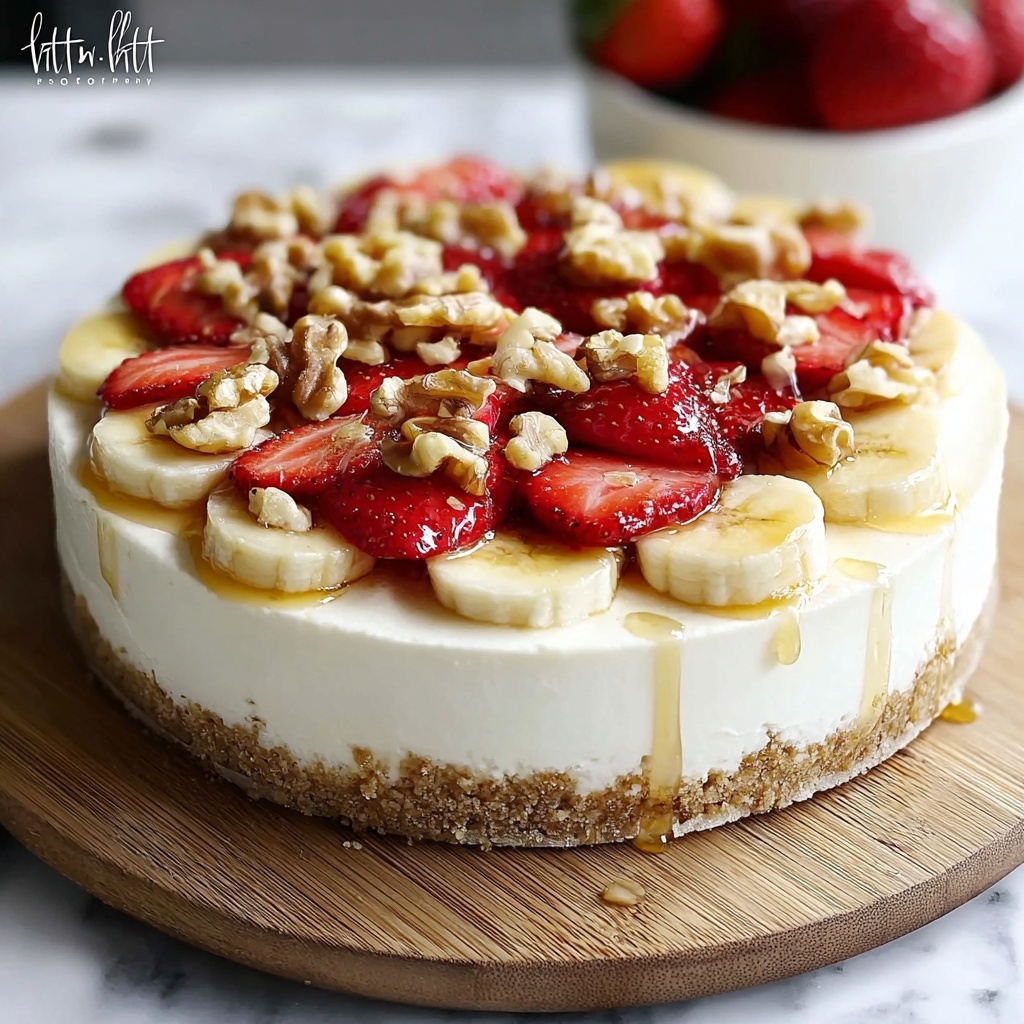
If you are craving a dessert that feels like a warm hug from your grandma, then this Easy Banana Pudding Recipe-Classic Comfort Food Recipe is exactly what you need. It perfectly blends creamy vanilla pudding, sweet ripe bananas, and crunchy vanilla wafers to create layers of delightful texture and flavor that have stood the test of time. This is not just a dessert; it’s a nostalgic treat that brings instant smiles to the table. Whether you’re making it for a family gathering or a cozy night in, this recipe delivers comfort and joy in every spoonful.
Ingredients You’ll Need
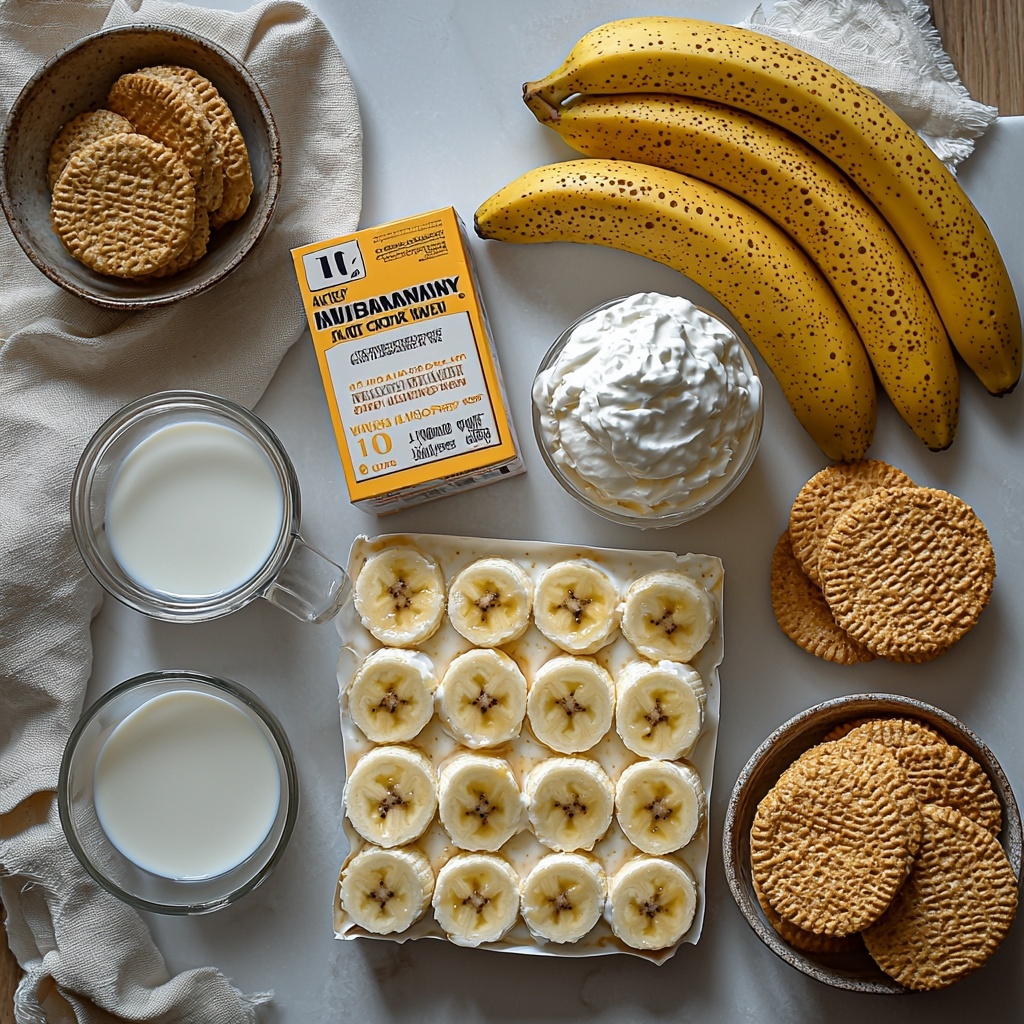
To make this classic banana pudding, you’ll want to gather a handful of simple ingredients that pack a flavorful punch. Each one plays a vital role, from creating the creamy base to delivering that irresistible crunch and natural sweetness.
- Instant vanilla pudding mix: This forms the silky, smooth foundation of your pudding, quickly thickening to the perfect consistency.
- Cold milk: Key to activating the pudding mix and keeping the texture creamy and light.
- Sweetened condensed milk: Adds a luscious sweetness and richness that elevates the pudding’s flavor.
- Vanilla extract: Just a splash for a fragrant, deep vanilla aroma that complements the bananas beautifully.
- Whipped topping: Folded in gently to keep the pudding airy and fluffy.
- Ripe bananas: Fresh and sliced, these provide the fresh fruity notes and natural sweetness.
- Vanilla wafers: Crunchy layers that soak up moisture while holding their pleasant texture, making every bite delightful.
How to Make Easy Banana Pudding Recipe-Classic Comfort Food Recipe
Step 1: Mix the Pudding Base
Begin by whisking the instant vanilla pudding mix with cold milk in a large bowl. Vigorously whisk for two minutes until the mixture noticeably thickens. Let it rest for a few minutes; this resting time helps the pudding set perfectly, creating that smooth, velvety base you want to build your dessert on.
Step 2: Add Sweetened Condensed Milk and Vanilla
Next, stir in the sweetened condensed milk and vanilla extract into the thickened pudding. This step enriches the flavor and texture, making your pudding extra creamy with a beautiful glossy sheen. The condensed milk sweetens the dish naturally, balancing the flavor just right.
Step 3: Fold in the Whipped Topping
Gently fold the thawed whipped topping into the pudding mixture using a spatula. Be careful to mix without deflating the whipped topping too much; this keeps the pudding fluffy and light, giving it that dreamy texture you’ll love.
Step 4: Layer the Vanilla Wafers and Bananas
In your serving dish, start by placing a single layer of vanilla wafers evenly on the bottom. Add a generous layer of sliced ripe bananas on top. This combination creates a perfect base of crispy and fruity layers that soak up flavors as the pudding chills.
Step 5: Layer Pudding and Repeat
Spoon half of the luscious pudding mixture over the bananas and wafers. Add another layer of vanilla wafers, then layer on more banana slices. Finish with the remaining pudding on top. These layers meld together during chilling, ensuring every bite tastes like a harmonious blend of sweet, creamy, and crunchy goodness.
Step 6: Chill to Perfection
Cover the dish tightly with plastic wrap, pressing it so it touches the pudding surface to prevent a skin from forming. Refrigerate for at least four hours, although overnight chilling is ideal. This is where all the flavors fuse and the wafers soften just enough to maintain a delightful texture without becoming soggy.
How to Serve Easy Banana Pudding Recipe-Classic Comfort Food Recipe
Garnishes
To elevate your beautiful creation, consider garnishing with extra vanilla wafers on top or a sprinkle of crushed wafers for added crunch. A few banana slices arranged on the surface make it visually inviting, while a light dusting of cinnamon or nutmeg adds a subtle warmth that complements the vanilla and bananas.
Side Dishes
This banana pudding shines on its own, but if you want to round out your dessert experience, pairing it with fresh berry salads or a dollop of whipped cream can offer a refreshing contrast. A cup of strong coffee or a glass of cold milk also pairs wonderfully, enhancing the classic flavors of this comfort food.
Creative Ways to Present
If you want to impress your guests, try serving the pudding in individual glass jars or clear cups. This showcases the gorgeous layers beautifully and makes portion control a breeze. For a fun twist, swap the vanilla wafers for gingersnaps or shortbread cookies, giving the dish a uniquely delightful crunch and flavor.
Make Ahead and Storage
Storing Leftovers
Store your banana pudding in an airtight container or cover it tightly with plastic wrap in the fridge. It will keep well for 2 to 3 days, though it’s best enjoyed as fresh as possible to maintain the vibrant texture of bananas and wafers.
Freezing
Freezing banana pudding is generally not recommended because the bananas can become mushy and the texture may change. If you must freeze, do so without the wafers and bananas, then add fresh ones after thawing for better texture.
Reheating
Since banana pudding is best served chilled, reheating is usually unnecessary. If you prefer it slightly warmer, let it sit at room temperature for about 15 minutes before serving, but avoid microwaving as it can alter the texture.
FAQs
Can I use homemade vanilla pudding instead of instant pudding mix?
Absolutely! Homemade pudding works wonderfully and can add a lovely fresh flavor. Just be sure it’s thick enough to hold the layers together in the pudding.
What type of bananas work best for this recipe?
Ripe but firm bananas are ideal. They should have a sweet aroma and slight golden color without being overly brown or mushy to ensure they hold up well in layers.
Can I make this recipe vegan?
To make it vegan, substitute the pudding mix with a vegan alternative, use plant-based milk, whipped topping, and vegan condensed milk substitutes. Keep in mind texture and taste may vary slightly.
How long does this dessert last in the fridge?
For the best taste and texture, enjoy within 2 to 3 days. Beyond that, bananas may start to brown and wafers could become overly soft.
Is it necessary to let the pudding chill overnight?
While chilling for at least four hours is essential for flavor meld and texture, letting it chill overnight enhances the taste and softens the wafers perfectly, making it worth the wait.
Final Thoughts
Nothing quite compares to the joy of making and sharing this Easy Banana Pudding Recipe-Classic Comfort Food Recipe. It’s a timeless treat that’s surprisingly simple to make but endlessly rewarding to eat. So, grab those bananas and vanilla wafers, and dive into a bowl of creamy, dreamy happiness — your taste buds will thank you!
Print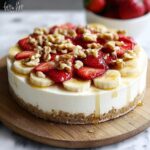
Easy Banana Pudding Recipe-Classic Comfort Food Recipe
- Prep Time: 15 minutes
- Cook Time: 0 minutes
- Total Time: 4 hours 15 minutes
- Yield: 10 servings
- Category: Dessert
- Method: No-Cook
- Cuisine: Southern American
Description
This Easy Banana Pudding Recipe is a classic Southern comfort dessert featuring creamy vanilla pudding layered with ripe bananas and crunchy vanilla wafers. It’s simple to make and perfect for gatherings or a cozy treat, combining smooth pudding, fluffy whipped topping, fresh fruit, and tender cookies for a delightful, nostalgic flavor.
Ingredients
Pudding Mixture
- 1 (3.4 oz) box instant vanilla pudding mix
- 2 cups cold milk
- 1 (14 oz) can sweetened condensed milk
- 1 teaspoon vanilla extract
- 1 (8 oz) tub whipped topping, thawed
Assembly
- 4–5 ripe bananas, sliced
- 1 (11 oz) box vanilla wafers
Instructions
- Prepare the pudding: In a large mixing bowl, combine the instant vanilla pudding mix with the cold milk. Whisk vigorously for about two minutes, or until the mixture starts to thicken. Allow it to set for a few minutes to firm up.
- Enhance the pudding: Add the sweetened condensed milk and vanilla extract to the thickened pudding mixture. Stir until thoroughly incorporated and smooth to achieve a richer, glossier consistency.
- Fold in whipped topping: Gently fold the thawed whipped topping into the pudding mixture using a spatula. Incorporate without deflating too much to maintain a light and fluffy texture.
- Layer the dessert: Begin assembling by arranging a single layer of vanilla wafers at the bottom of your serving dish. Top this with a generous layer of sliced ripe bananas.
- Add pudding and repeat layers: Spoon about half of the creamy pudding mixture over the banana and wafer layer. Follow with another layer of vanilla wafers and then another layer of sliced bananas. Spoon the remaining pudding mixture evenly over the top.
- Chill and set: Cover the dish tightly with plastic wrap, ensuring the wrap touches the surface of the pudding to prevent a skin from forming. Chill in the refrigerator for at least 4 hours, or preferably overnight, allowing the flavors to meld and the wafers to soften into a tender texture.
Notes
- Use ripe but firm bananas to avoid mushiness.
- For best results, chill overnight to let flavors fully develop.
- You can substitute whipped topping with whipped cream for a fresher taste.
- Keep the plastic wrap touching the pudding surface to prevent a pudding skin.
- This dessert can be made a day ahead, making it perfect for entertaining.


