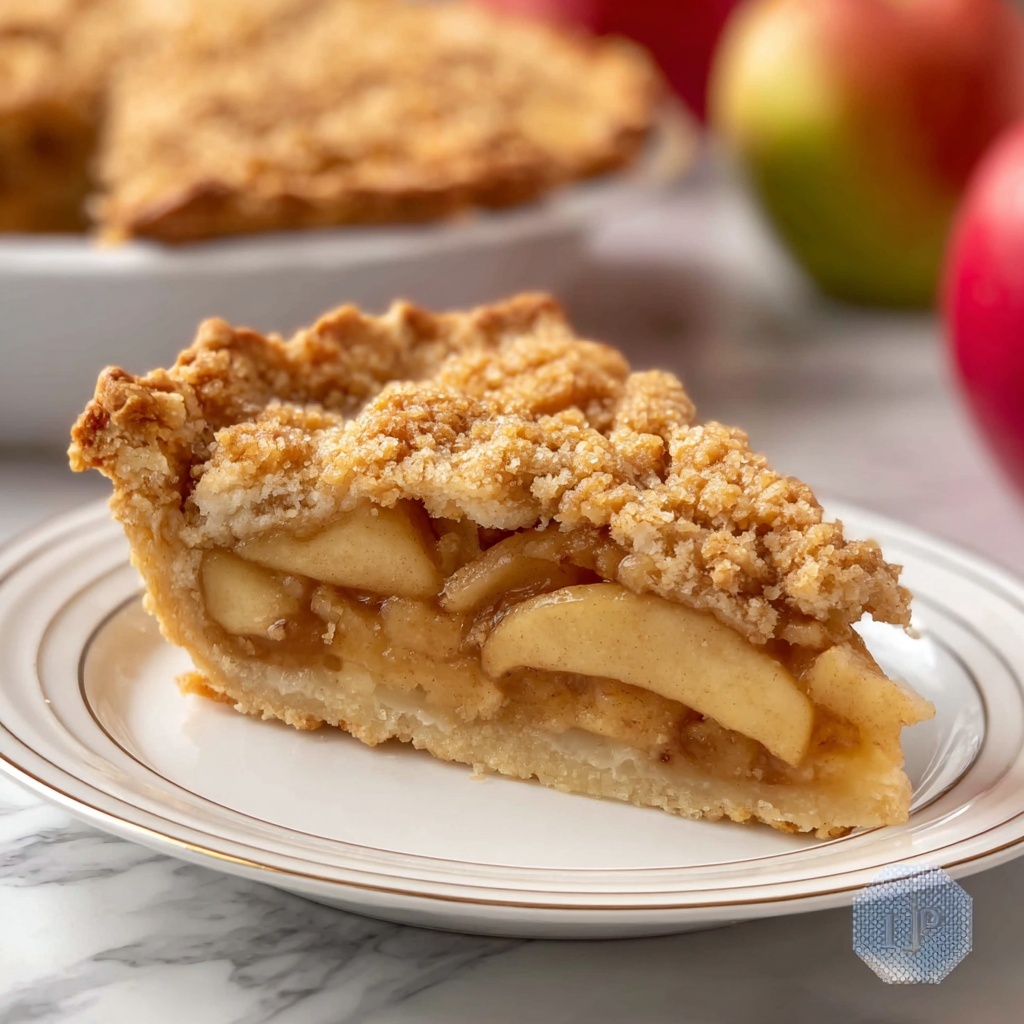
If you’ve been searching for a foolproof, comforting dessert to wow your family or friends with minimal fuss, look no further. The Easiest Apple Pie Recipe (Beginner Friendly) Recipe is exactly what you need — it’s simple enough for cooking newbies yet delivers all the warm, cozy flavors that make apple pie a timeless classic. With a tender, flaky crust enveloping a perfectly spiced apple filling, this recipe shows you how to create magic in the kitchen without any stress. Trust me, the moment you take that first bite, you’ll understand why it’s a favorite for every season.
Ingredients You’ll Need
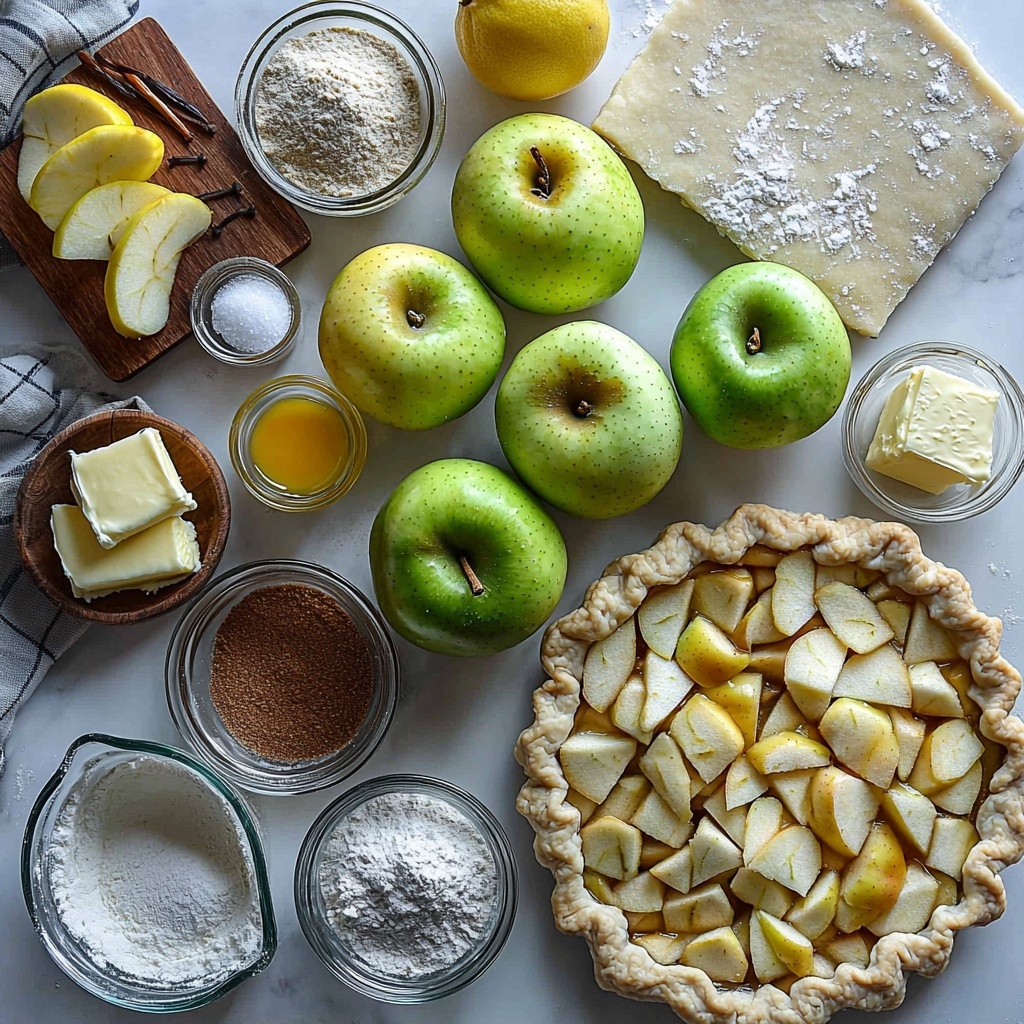
This recipe relies on straightforward, pantry-friendly ingredients that come together beautifully to create a pie that’s bursting with flavor and just the right texture. Each plays an essential role, from the tartness of the apples to the sweetness and spice that make every slice irresistible.
- 2 pie crusts (store-bought refrigerated dough or homemade): These provide the buttery, flaky base and topping that cradle your apples perfectly.
- 6–7 medium apples (Granny Smith, Honeycrisp, or a mix), peeled, cored, and sliced 1/4 inch thick: The star ingredient, their natural sweetness and texture dictate the pie’s character.
- 3/4 cup granulated sugar: Adds classic sweetness that balances the tart apples.
- 2 tablespoons brown sugar (optional, for deeper flavor): It offers a subtle molasses note for richness.
- 2 tablespoons all-purpose flour (for thickening): Helps keep your filling from becoming too runny.
- 1 tablespoon cornstarch (extra thickening help, especially for juicier apples): Gives added stability to your filling’s luscious texture.
- 1 1/2 teaspoons ground cinnamon: The quintessential apple pie spice that infuses warmth and fragrance.
- 1/4 teaspoon ground nutmeg (optional): Introduces a hint of earthy complexity.
- 1/4 teaspoon salt: Enhances all the flavors to make them pop.
- 1 teaspoon vanilla extract: Brings a sweet, aromatic depth to the filling.
- 1 tablespoon lemon juice (keeps apples bright and balances sweetness): Prevents browning and brightens the overall flavor.
- 2 tablespoons unsalted butter, cut into small pieces: Adds richness and a lovely glossy finish to the filling.
- 1 egg, beaten with 1 tablespoon water (egg wash): Helps your crust achieve that perfect golden glow.
- 1 tablespoon coarse sugar (optional, for sprinkling): Provides a delightful crunch and sparkle on top.
How to Make The Easiest Apple Pie Recipe (Beginner Friendly) Recipe
Step 1: Preheat and Prep Your Oven
Before anything else, set your oven to a toasty 425°F (220°C). Position the oven rack in the lower third, which is crucial to making sure your pie’s bottom crust cooks all the way through and doesn’t end up soggy. If you’re using store-bought pie crusts, take them out now so they can relax to room temperature—this makes them easier to handle and less likely to crack.
Step 2: Prepare the Apples
Peeling, coring, and slicing your apples into even 1/4-inch slices ensures each bite has the perfect balance of texture and tenderness. Tossing them right away with lemon juice is a smart move — it keeps those beautiful slices from turning brown and adds a subtle zing that balances the sweetness in the filling.
Step 3: Mix the Filling
Here’s where the magic starts. Add granulated sugar, brown sugar, flour, cornstarch, cinnamon, nutmeg, salt, and vanilla straight into the apples’ bowl and toss everything until evenly coated. Letting this mixture rest for 5 to 10 minutes allows the apples to release their juices and marry with the spices, creating a luscious, evenly flavored filling that bubbles with goodness when baked.
Step 4: Line the Pie Dish
Roll out one of your crusts and fit it gently into your 9-inch pie pan. Press it down without stretching so it sits nicely on the bottom and up the sides. Trim any excess with a half-inch overhang for sealing the top crust later—this little detail makes all the difference for a neat pie.
Step 5: Fill the Pie
Pile the apple mixture into your lined crust, mounding slightly in the center just like grandma used to do. Dot the filling with small chunks of butter; this simple step enriches the flavor and lends a glossy, irresistible sheen to the top once baked.
Step 6: Add the Top Crust
Place your second crust on top of the apples. Trim any excess and carefully tuck the edges underneath the bottom crust. Then crimp the edges with your fingers or a fork — this seals in the filling and gives your pie that charming, homemade look. Don’t forget to cut several small slits in the top crust to let the steam escape. Feeling creative? Turn these crusts into a lattice pattern for showstopping appeal!
Step 7: Brush and Sprinkle
Mix your beaten egg with water to create an egg wash, then gently brush it over your pie’s top crust. This step is key to achieving that beautiful golden color. A sprinkle of coarse sugar on top adds sparkle and a light crunch that makes every bite even more delightful.
Step 8: Bake Your Pie
Start baking at 425°F (220°C) for 20 minutes to jumpstart that golden crust and bubbling filling. Then reduce the temperature to 375°F (190°C) and continue baking for another 30 to 35 minutes, or until the crust is perfectly golden and you can see juices bubbling through the vents.
Step 9: Protect the Edges
If the edges of your crust brown too quickly, simply cover them loosely with some foil or a pie shield during the last 20 minutes of baking. This keeps everything perfectly baked without any burnt spots.
Step 10: Cool Before Slicing
Resist the tempting urge to cut in right away. Let your pie cool on a wire rack for at least 2 hours. This waiting period is essential — it lets the filling set beautifully so your slices come out neat and delicious, not runny.
How to Serve The Easiest Apple Pie Recipe (Beginner Friendly) Recipe
Garnishes
Elevate your pie presentation with a dollop of freshly whipped cream or a scoop of vanilla ice cream. The cold creaminess contrasts the warm spices and crust beautifully, making every bite a dreamy experience. If you want a little extra flavor boost, sprinkle a pinch of cinnamon or nutmeg on top of your garnish.
Side Dishes
Pair your apple pie with a simple cup of strong coffee or chai tea for a cozy dessert moment. For a more substantial treat, serve alongside a sharp cheddar cheese slice — this classic pairing perfectly balances sweet and savory in a way you might not expect but will love.
Creative Ways to Present
Think beyond the typical slice on a plate. Cut your pie into smaller squares and serve on cute mini plates for a party-friendly dessert. Or, use cookie cutters to shape crust scraps into leaves and bake them alongside your top crust for a whimsical, festive look that impresses guests every time.
Make Ahead and Storage
Storing Leftovers
Once cooled, leftovers keep beautifully in the refrigerator for up to 4 days. Cover your pie loosely with foil or plastic wrap to preserve moisture and freshness without letting the crust soften too much.
Freezing
This apple pie freezes wonderfully, making it a perfect make-ahead treat. Wrap the whole pie tightly in plastic wrap and then foil, or freeze individual slices in airtight containers to enjoy later without any loss of flavor or texture. When ready, thaw overnight in the fridge before reheating.
Reheating
Rewarm your pie slices gently in the oven at 350°F (175°C) for about 15 minutes to revive that flaky crust and warm filling. Microwaving works in a pinch but tends to make the crust a bit soggy, so oven reheating is definitely the way to go for best results.
FAQs
Can I use different types of apples?
Absolutely! While Granny Smith and Honeycrisp apples are great choices for their balance of tartness and sweetness, feel free to experiment with blends like Fuji or Pink Lady to customize your flavor profile.
Do I have to use store-bought pie crusts?
Not at all! Homemade crusts can definitely uplift your pie with extra flakiness and flavor, but store-bought refrigerated dough is a fantastic shortcut that keeps this recipe beginner-friendly and quick.
What if my filling is too runny?
Make sure to mix both flour and cornstarch into your filling as they work together to thicken the juices. Also, letting the filling sit for 5 to 10 minutes before putting it in the crust helps juices develop, making it easier to bake to a perfect consistency.
Can I make the pie gluten-free?
Yes! Simply substitute the crust with a gluten-free alternative and use a gluten-free flour blend to thicken the filling. Just watch baking times as crusts can vary.
How long should I wait before slicing?
Patience is key — resting your pie at least 2 hours after baking lets the filling set, preventing it from sliding out when you slice. It’s worth the wait for clean, gorgeous servings every time.
Final Thoughts
I truly hope you give The Easiest Apple Pie Recipe (Beginner Friendly) Recipe a try and fall in love with baking all over again. It’s one of those dishes that brings comfort and joy with every forkful, no matter your skill level. From the crisp, tender apples to the golden, flaky crust, it’s a simple pleasure worth savoring and sharing with everyone you care about.
Print
The Easiest Apple Pie Recipe (Beginner Friendly) Recipe
- Prep Time: 30 minutes
- Cook Time: 55 minutes
- Total Time: 3 hours 15 minutes
- Yield: 8 servings
- Category: Dessert
- Method: Baking
- Cuisine: American
Description
This easy apple pie recipe is perfect for beginners looking to create a classic, comforting dessert. Featuring a flaky double crust filled with a cinnamon-spiced apple mixture, this foolproof pie balances sweetness and tartness with a rich buttery finish. Baking at two temperatures ensures a perfectly cooked crust and bubbly filling for an all-time favorite treat.
Ingredients
Pie Crust
- 2 pie crusts (store-bought refrigerated dough or homemade)
Apple Filling
- 6–7 medium apples (Granny Smith, Honeycrisp, or a mix), peeled, cored, and sliced 1/4 inch thick
- 3/4 cup granulated sugar
- 2 tablespoons brown sugar (optional, for deeper flavor)
- 2 tablespoons all-purpose flour (for thickening)
- 1 tablespoon cornstarch (extra thickening help, especially for juicier apples)
- 1 1/2 teaspoons ground cinnamon
- 1/4 teaspoon ground nutmeg (optional)
- 1/4 teaspoon salt
- 1 teaspoon vanilla extract
- 1 tablespoon lemon juice (keeps apples bright and balances sweetness)
- 2 tablespoons unsalted butter, cut into small pieces
Topping
- 1 egg, beaten with 1 tablespoon water (egg wash)
- 1 tablespoon coarse sugar (optional, for sprinkling)
Instructions
- Preheat and prep: Preheat your oven to 425°F (220°C) and position a rack in the lower third of the oven to help the bottom crust cook thoroughly. Allow the pie crusts to soften slightly if using store-bought refrigerated dough.
- Prepare the apples: Peel, core, and slice the apples into even 1/4 inch slices. Place them in a large bowl and toss with lemon juice to prevent browning and balance the sweetness.
- Mix the filling: Add granulated sugar, brown sugar, flour, cornstarch, cinnamon, nutmeg, salt, and vanilla extract to the apples. Toss well to coat all slices evenly, then let the mixture rest for 5–10 minutes to draw out the juices.
- Line the pie dish: Unroll one pie crust and fit it gently into a 9-inch pie pan, pressing into the bottom and sides. Trim excess dough but leave about 1/2 inch over the rim.
- Fill the pie: Spoon the apple mixture into the crust, mounding slightly in the center. Dot evenly with small pieces of unsalted butter to enrich the filling and give a glossy finish.
- Top crust: Cover the filling with the second crust. Trim and tuck edges under, then crimp with fingers or a fork to seal securely. Cut 4–5 small slits on top to vent steam. Alternatively, weave strips of dough for a lattice top before sealing edges.
- Brush and sprinkle: Brush the top crust with the egg wash to promote browning and shine. Sprinkle with coarse sugar if preferred for added texture and sweetness.
- Bake hot, then lower temperature: Bake the pie at 425°F (220°C) for 20 minutes to set the crust, then reduce oven temperature to 375°F (190°C) and continue baking for 30–35 minutes until the crust is golden and the filling bubbles through vents.
- Protect the edges: If the crust edges brown too quickly during baking, cover them loosely with foil or use a pie shield for the final 20 minutes to prevent burning.
- Cool before slicing: Allow the pie to cool on a wire rack for at least 2 hours. This cooling step sets the filling for clean, neat slices rather than a runny texture.
Notes
- Use a mix of tart (Granny Smith) and sweet (Honeycrisp) apples for balanced flavor and texture.
- Allowing the filling to sit before baking helps thicken the juices for a perfect consistency.
- Egg wash improves crust color and adds a beautiful shine.
- Letting the pie cool fully before slicing ensures neat, clean slices.
- Cover crust edges with foil or a pie shield if they brown too quickly to avoid burning.


